Why CapCut Desktop is the Best Choice for LUTs
If you're looking to apply professional-grade color grading to your videos using LUTs (Look-Up Tables), you might have noticed that CapCut Mobile no longer supports direct LUT imports. While the mobile version is great for quick edits, the desktop version of CapCut (Windows & Mac) is the best choice for anyone serious about cinematic video editing.
✅ Supports .cube LUT files for pro-level color grading
✅ More advanced color correction tools than mobile
✅ Higher resolution exports without compression loss
In this guide, you’ll learn:
✔️ How to apply LUTs in CapCut Desktop (Step-by-Step Guide)
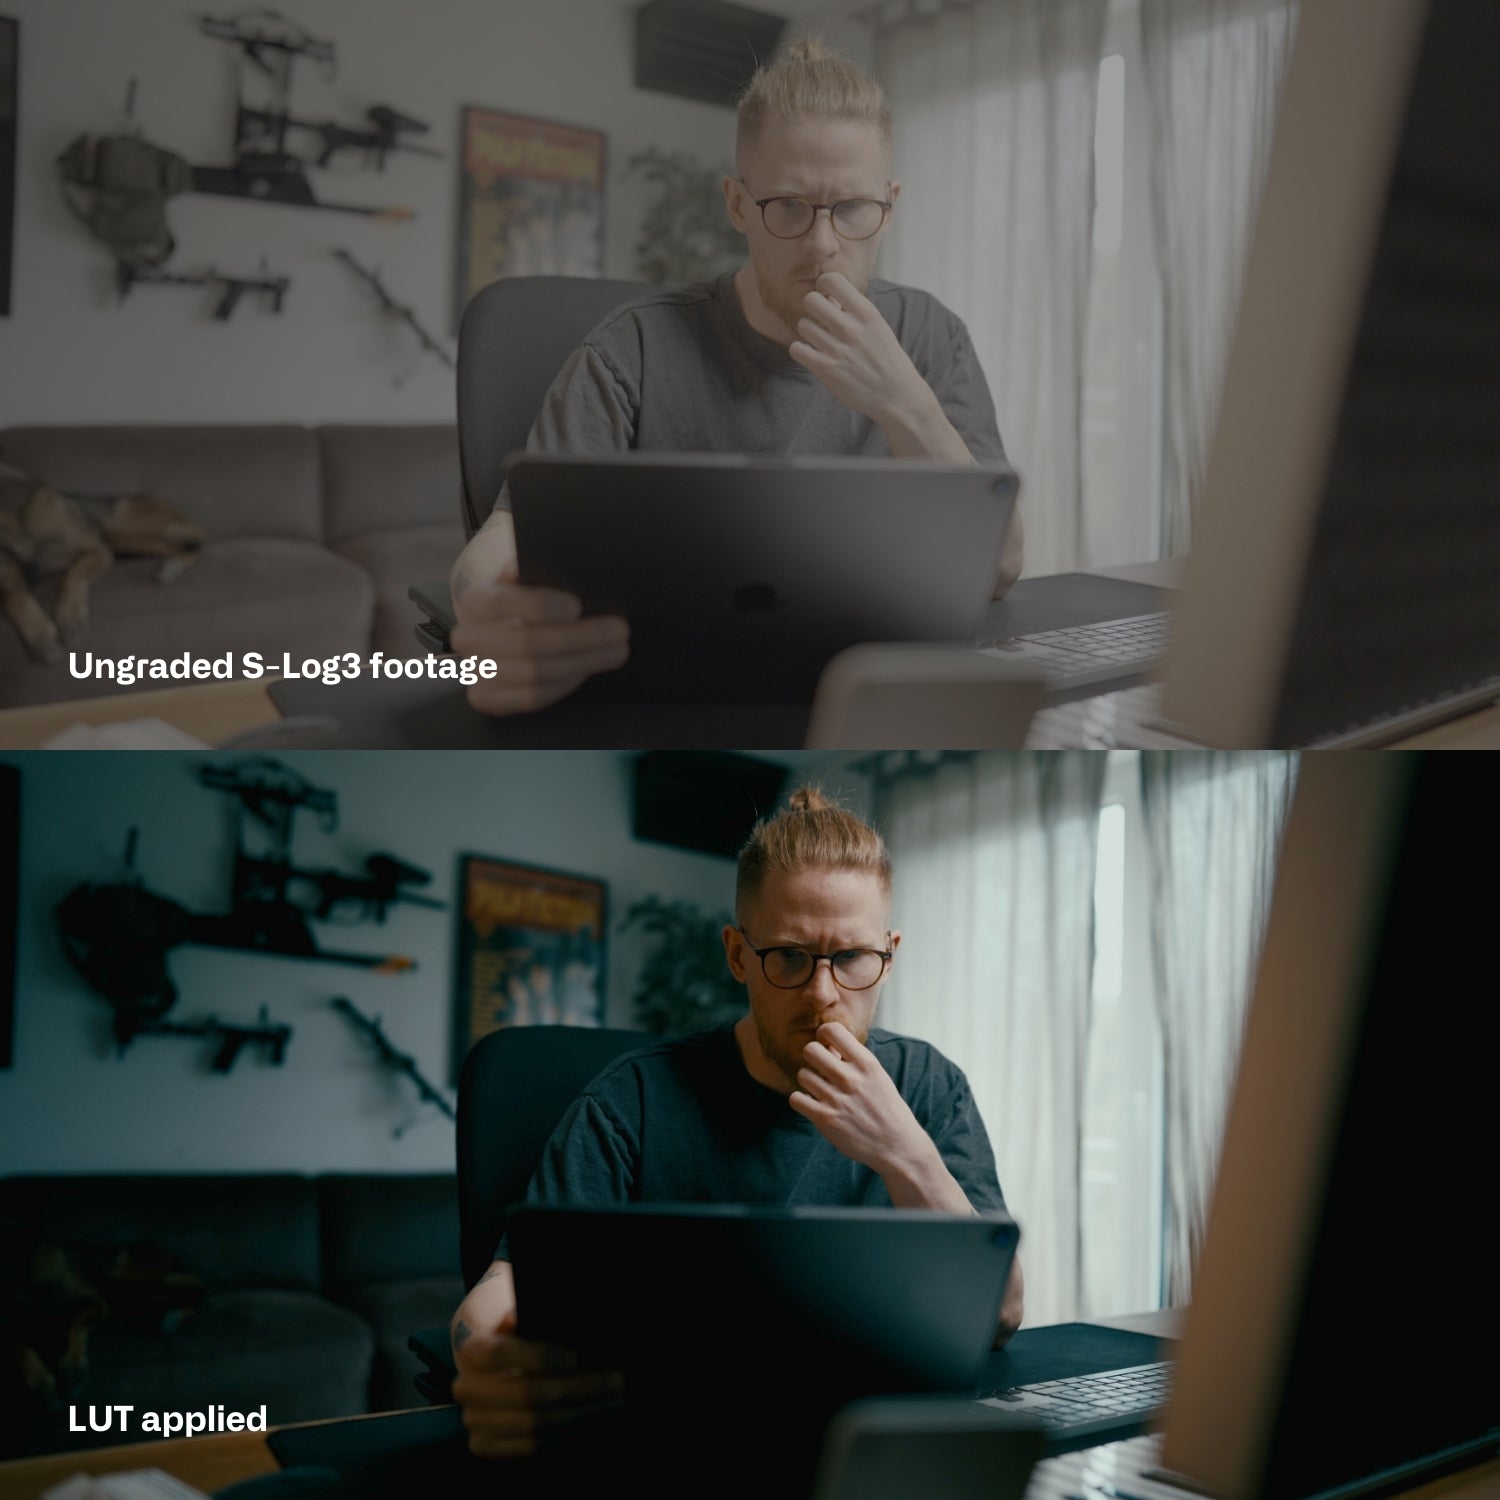
✔️ Why LUTs make your videos look instantly more cinematic
✔️ Where to find the best LUTs for CapCut

What Are LUTs and Why Do You Need Them?
LUTs are pre-made color presets that help transform your video’s look in just one click. Instead of manually adjusting brightness, contrast, and saturation, LUTs allow you to apply a professional color grade instantly.
Why Use LUTs?
📽️ Save time with one-click color grading
📸 Get consistent colors across all your clips
🎞️ Achieve a cinematic look without hours of tweaking
📷 Fix color balance issues in footage shot in different lighting
Now that we know why LUTs are essential, let’s jump into how to apply them in CapCut Desktop.
How to Import & Apply LUTs in CapCut Desktop (Windows & Mac)
Since CapCut Mobile doesn’t allow direct LUT imports anymore, the best workflow is to edit your videos using CapCut Desktop. Here’s how:
1. Download Your LUTs
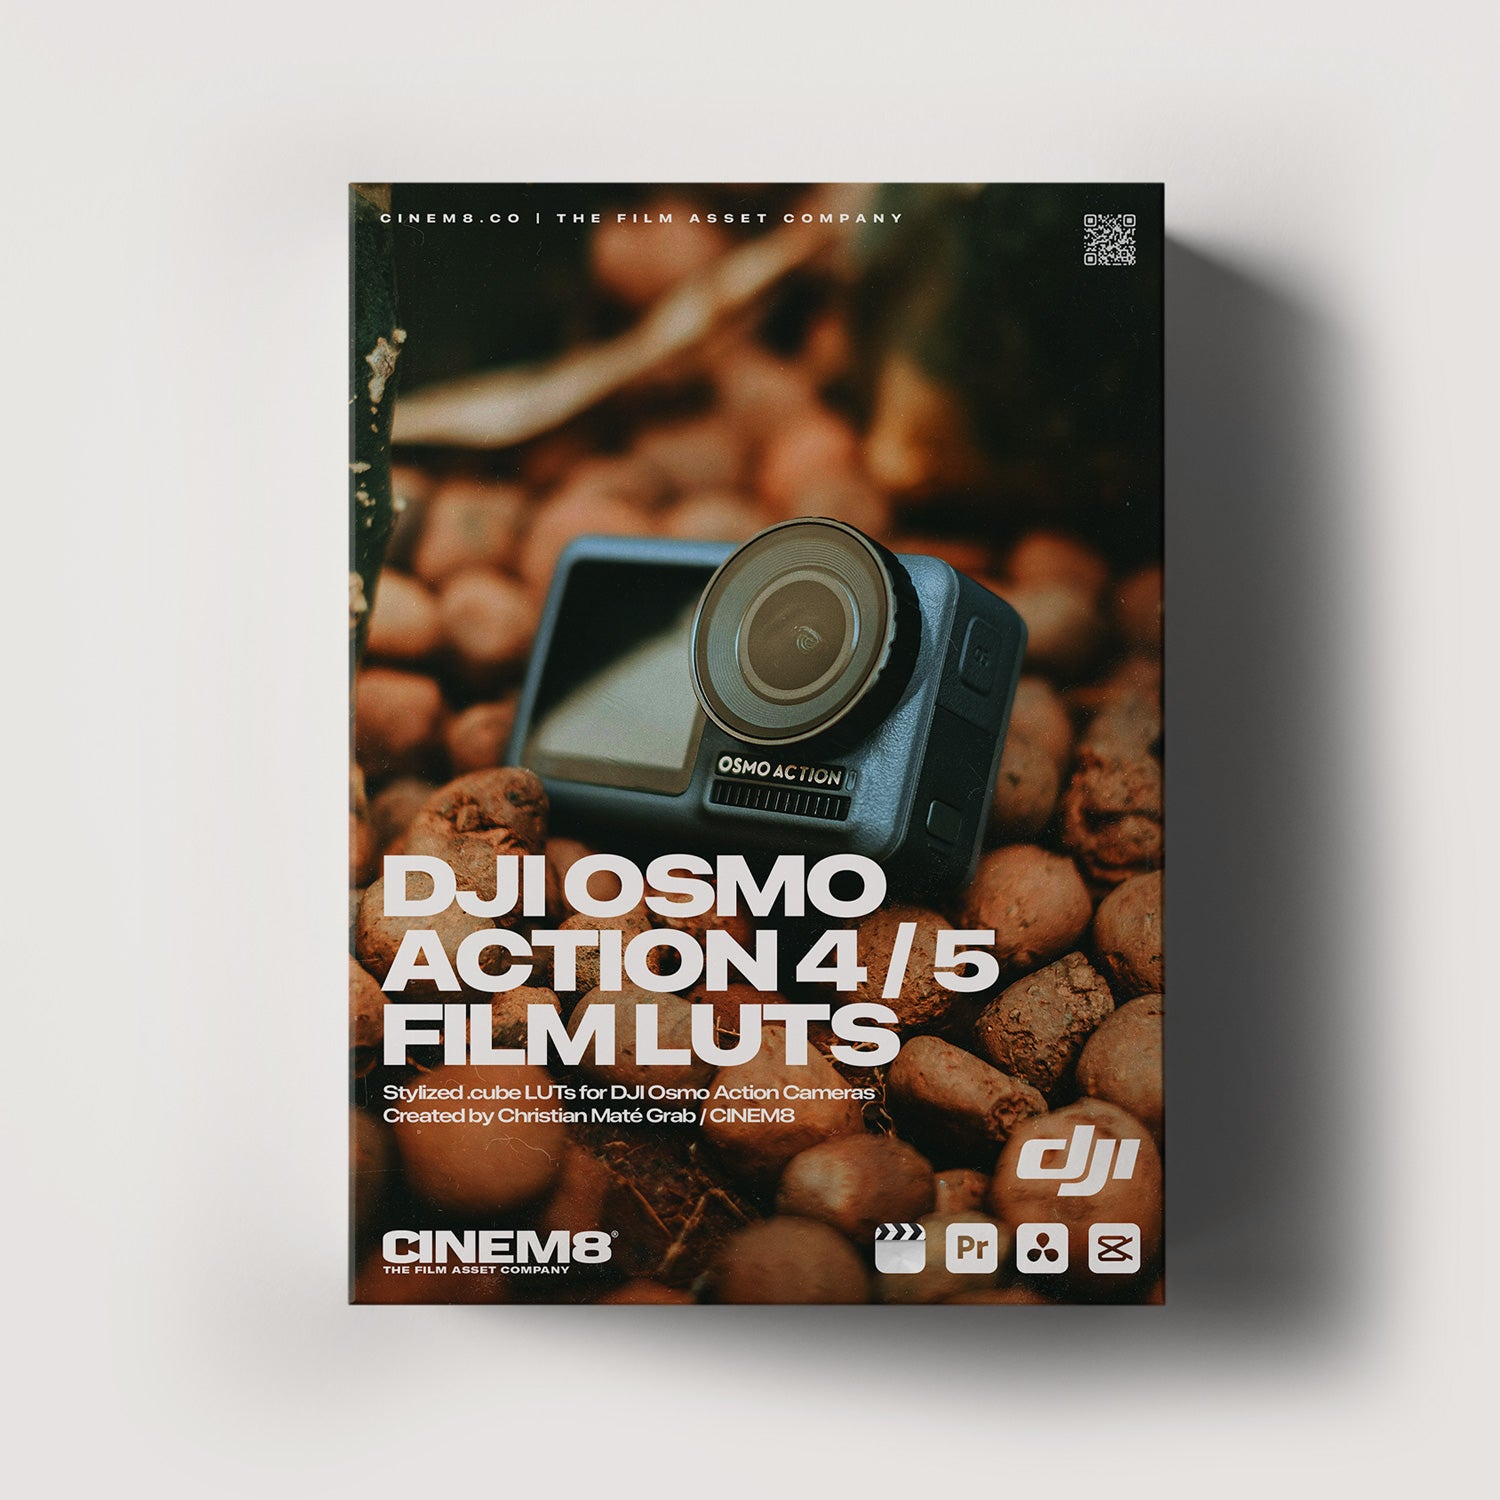
Get high-quality Cinematic LUTs from any source (as long as it's a .cube file) or grab our CINEM8.CO LUTs.
2. Open CapCut Desktop & Create a New Project
Launch CapCut on Windows or Mac, click "New Project", and import your footage.
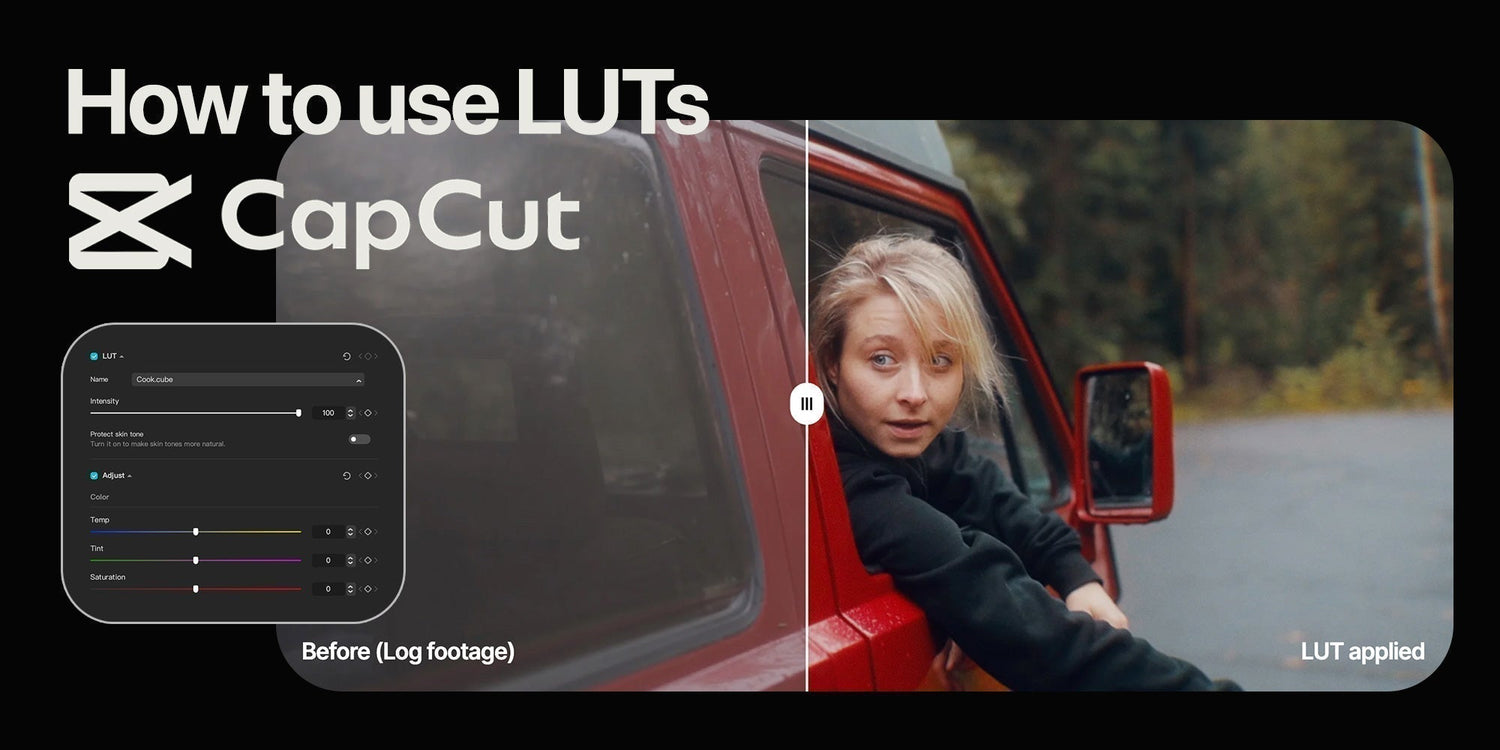
3. Go to the Color Grading Panel
Click on "Adjustment" in the top menu and select "LUT" from the options.

4. Import Your LUT File
Click "Import" and select your LUT (.cube format).

5. Apply the LUT to Your Video
Drag and drop the LUT onto your footage. Adjust the intensity slider to fine-tune the effect.

6. Additional Adjustments
Use contrast, brightness, saturation, and HSL tools to refine your look. Often your footage needs some tweaks to look great, so don't rely on your LUT only!
7. Export Your Video
Once you're happy with the grading, hit Export and share it with the world!
💡 Pro Tip: If you want Hollywood-style colors, check out our Cinematic LUTs Collection for high-end film looks - Or, if you shoot on your iPhone, check out our LUTs for iPhone (Log + rec709 versions inside).
 |
 |

FAQs – Your Questions Answered
1. Can I Use LUTs in CapCut Mobile?
❌ No, CapCut Mobile does not support LUTs directly anymore. The best solution is to edit in CapCut Desktop, where LUTs are fully supported.
2. What LUT Format Does CapCut Support?
CapCut Desktop supports .cube LUT files (the industry standard for color grading).
3. Where Do I Get High-Quality LUTs for CapCut?
You can find cinematic, professional-grade LUTs for free online or in our store at CINEM8.CO.
4. Why Should I Use CapCut Desktop Instead of Mobile?
🎞️ Full LUT support
🎬 Better color grading tools
📽️ Higher-quality exports
🚀 Way faster and more intuitive workflow (editing on a phone just sucks)


Hinterlasse einen Kommentar
Diese Website ist durch hCaptcha geschützt und es gelten die allgemeinen Geschäftsbedingungen und Datenschutzbestimmungen von hCaptcha.