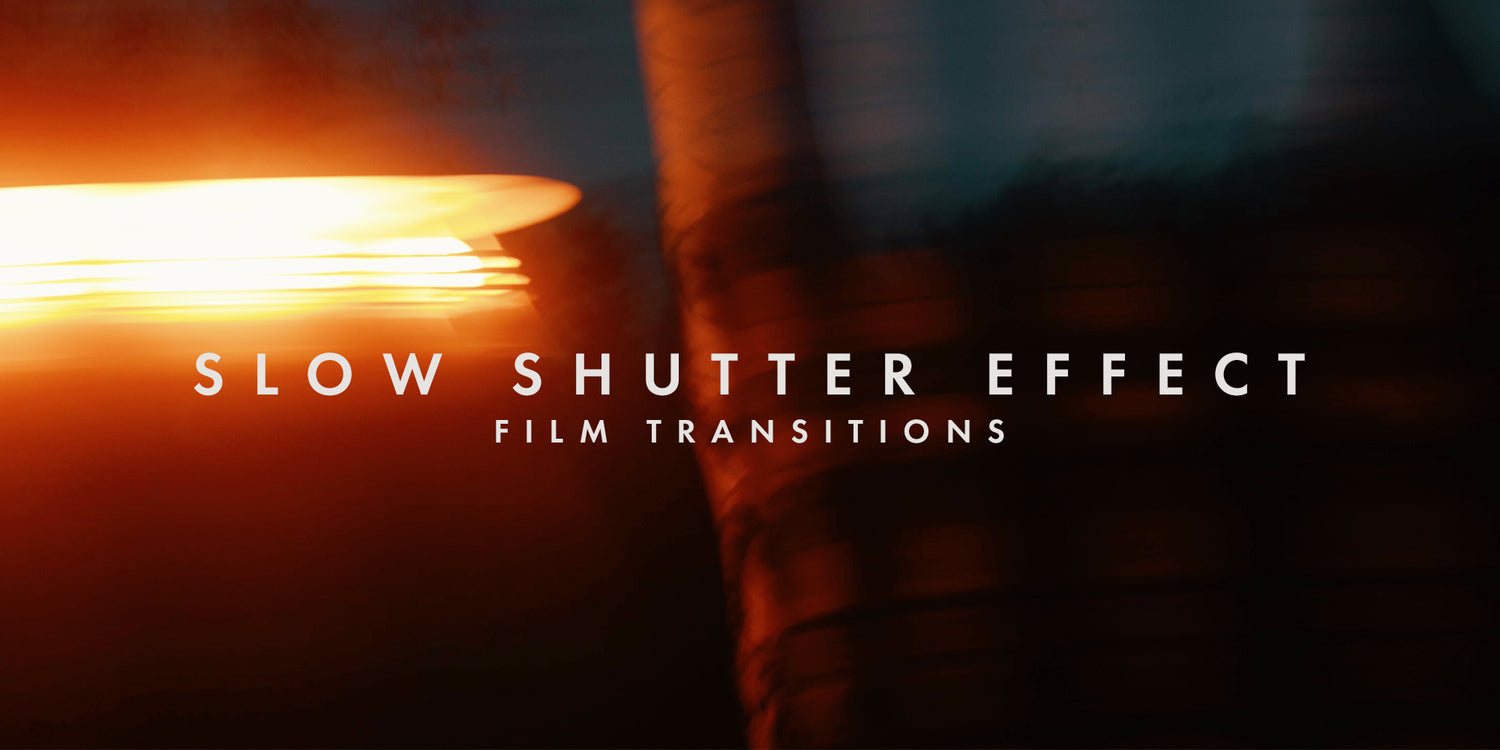
Crafting visually stunning video content is a mix of creativity, technical prowess, and having the right tools at your disposal. One technique I find particularly captivating is the use of slow shutter speed transitions. These transitions can introduce a dreamy, almost surreal quality to your projects, elevating your storytelling to new levels. In this guide, I’ll share how I approach mastering these slow shutter transitions, incorporating insights and techniques that can significantly enhance your video production.
The Magic of Slow Shutter Speed Transitions
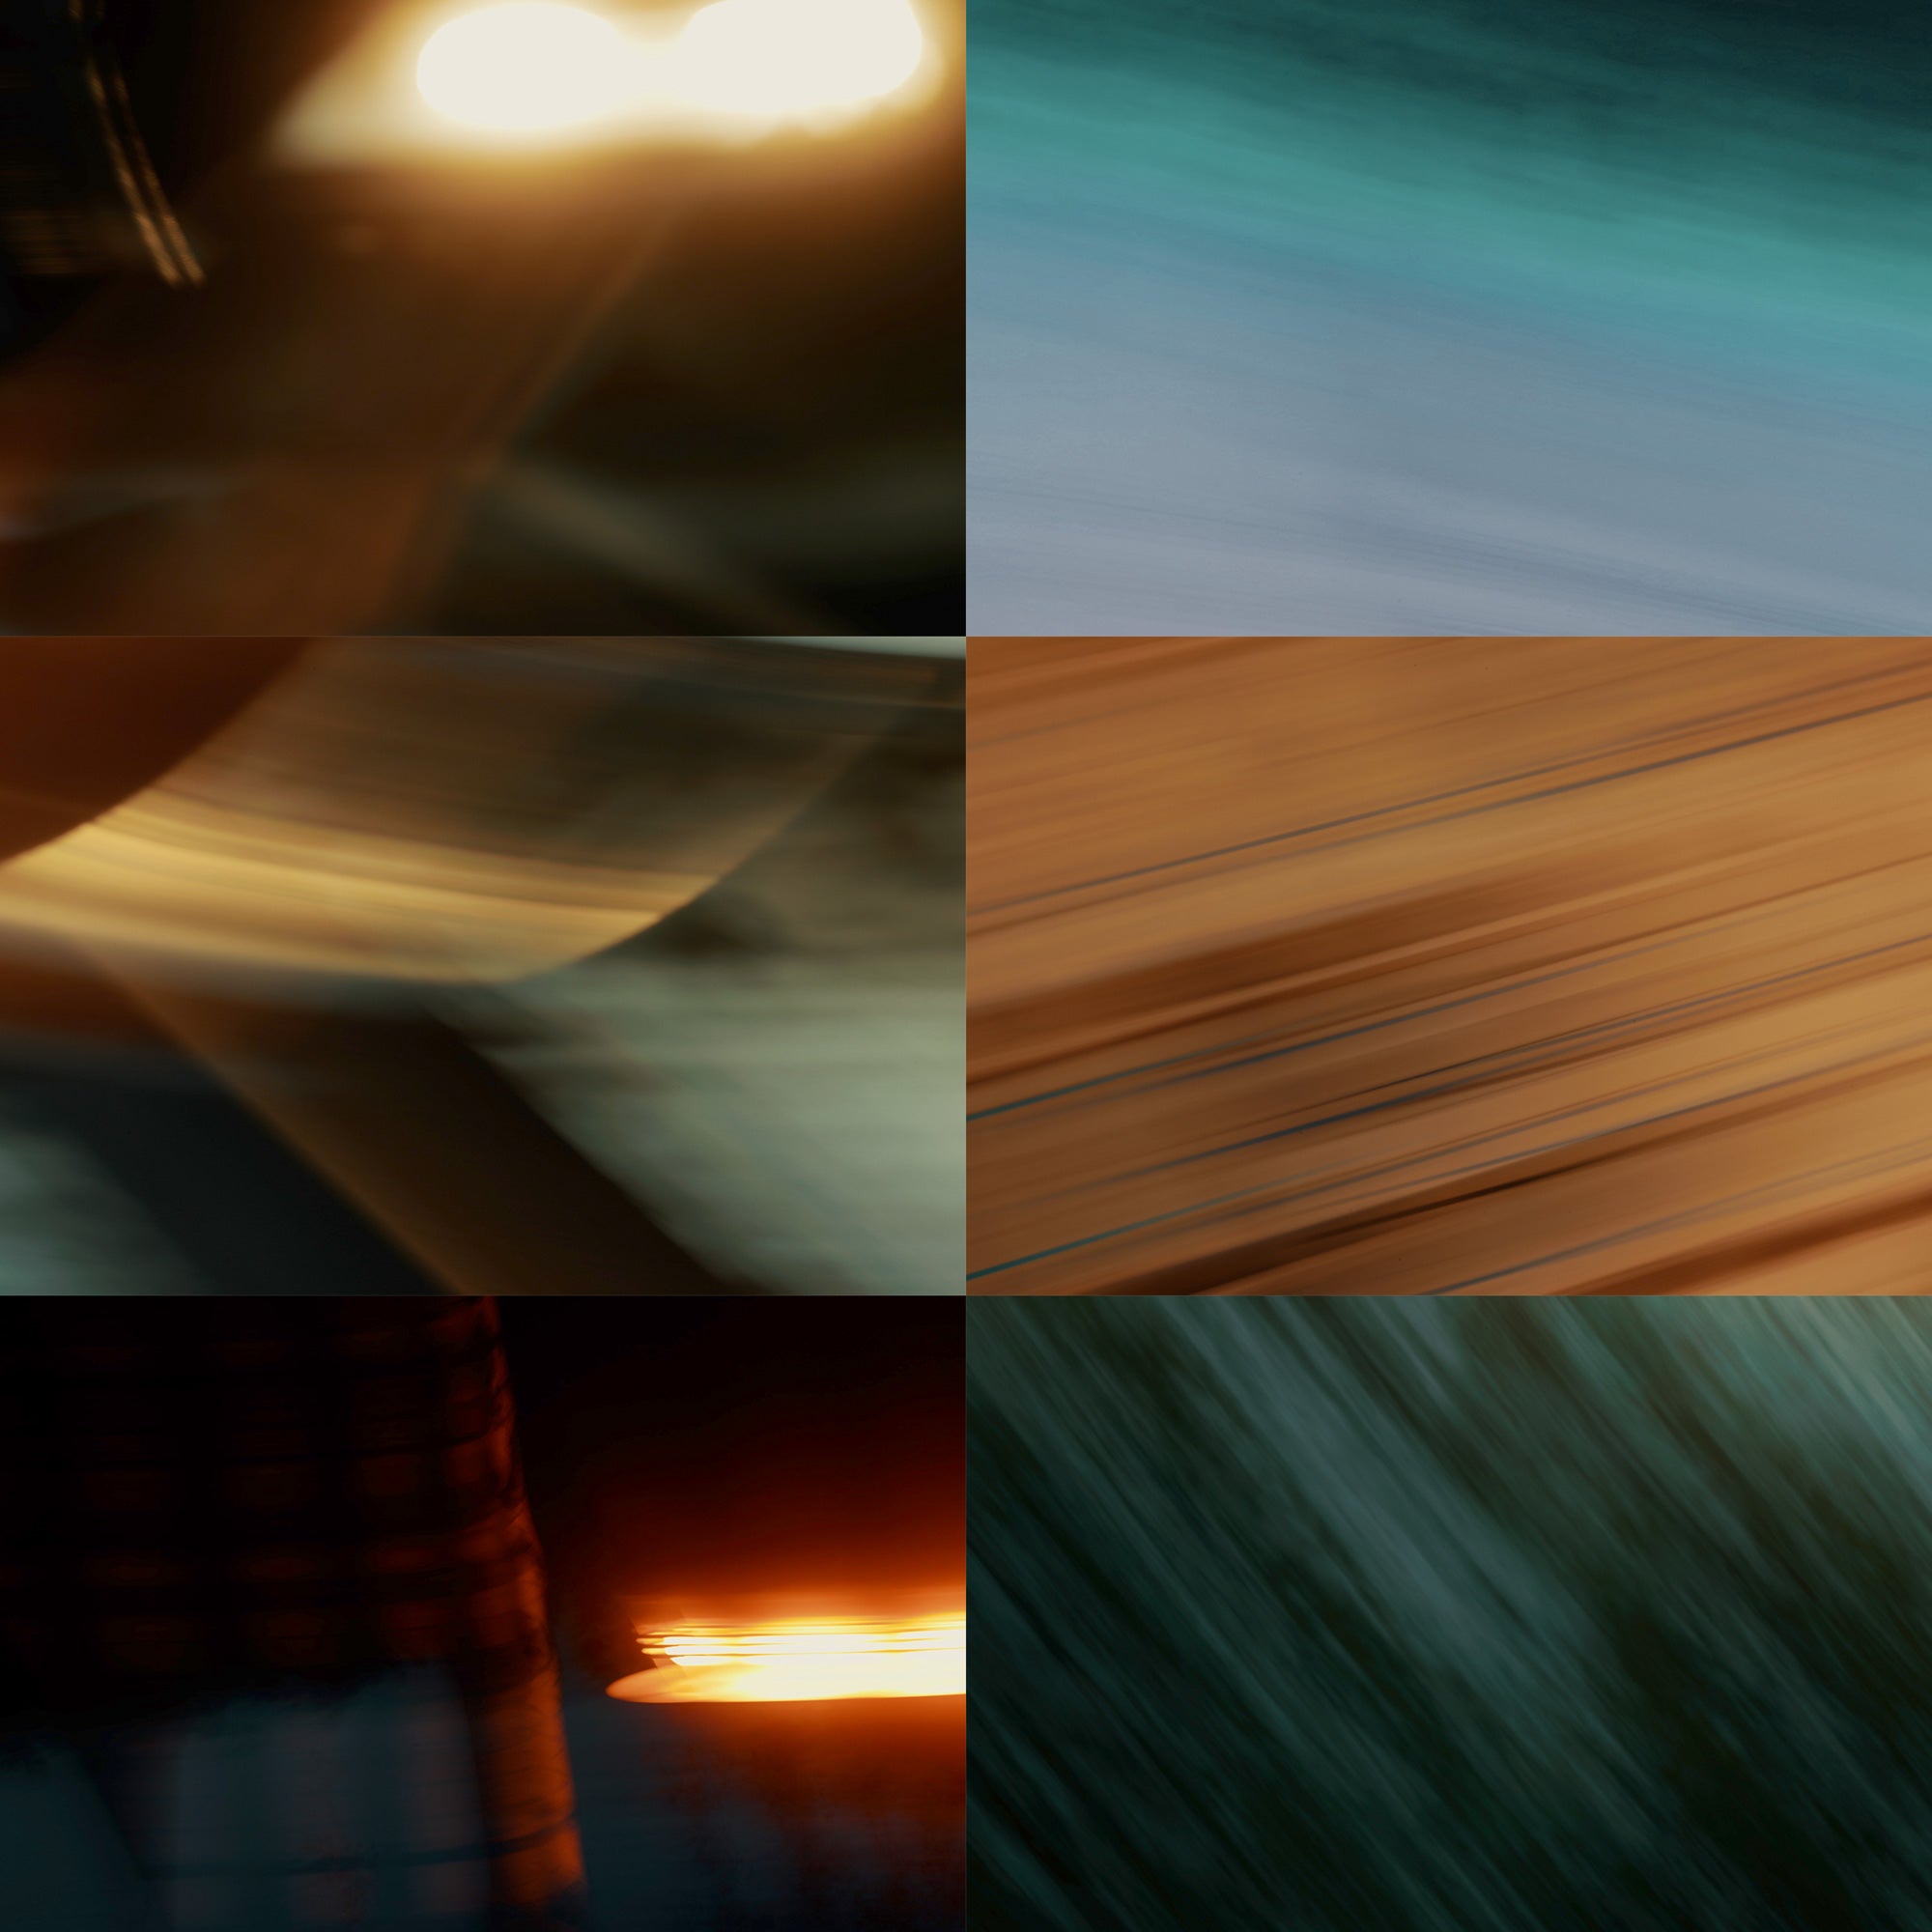
Slow shutter speed transitions aren’t just eye-catching effects; they’re powerful storytelling tools that convey emotion, movement, and atmosphere in ways traditional transitions simply can’t match. By tweaking the shutter speed, you can achieve a wide range of effects — from smooth, fluid movements to chaotic, intense blurs — that can intensify the mood of your scene. Whether I’m working on an intense action commercial or a reflective Vlog-style timeline, these step print effects can be fine-tuned to align perfectly with the narrative.

The Basics of creating the Effect:
1. Long Lens for Enhanced Dynamics
To achieve the ideal slow shutter effect, I recommend using a long lens. My go-to is a 70-200mm f2.8 lens, but any long lens should do the trick. The advantage of using a long focal length lies in the unique perspective and compression it offers, which makes your transitions visually striking. Of course you can use any lens like a 35mm as well, but the effect won't be that intense as motion captured on a long lens is perceived faster.
2. Lowering the Shutter Speed
The essence of the step-print effect is in adjusting your shutter speed. Departing from the standard 180-degree rule, where a shutter speed of 1/48th of a second is common for 24 FPS footage, you’ll want to experiment with much slower speeds. Depending on your lighting and the effect you’re after, try settings between 1/16th of a second and even as slow as half a second. This slower shutter speed introduces more motion blur, creating that surreal, fluid quality in your footage.
Keep in mind that as you lower your shutter speed, your exposure will be brighter as the cameras sensor is exposed to the light for a longer period of time. So either use an ND filter or crank up your aperture to get an even exposure in your shots (I used f22 on most of my transitions).

Capturing the Effect: On-Location Techniques
Mastering slow shutter speed transitions isn’t just about post-production; it’s also about how you capture the footage in the first place. Here’s my approach:
1. Embrace Dynamic Camera Movements
One of the best ways to create significant motion blur is through deliberate, dynamic camera movements. I often tell others to “throw your camera around like an idiot,” which is a humorous way of saying that you should feel free to experiment. Pan from left to right, tilt from up to down, or rotate your lens to capture various types of motion blur.
2. Play with Light and Shadow
Transitioning from dark areas to bright spots can create striking contrasts. For example, start your shot in a shadowy area and pan toward a bright streetlight or an LED light. This contrast not only enhances the motion blur but also adds depth and drama to the transition.
3. Incorporate Moving Light Sources
Adding elements like passing car headlights can enrich the effect. The light trails created by these moving sources add another layer of dynamism, making your slow shutter transitions even more compelling.

Post-Production: Refining Your Transitions
Once you've captured your footage, the magic continues in post-production. Here’s how to polish your slow shutter speed transitions:
1. Speed Adjustments
Import your clips into your preferred video editing software—whether it’s Final Cut, Premiere Pro, After Effects, or DaVinci — and consider speeding up the footage. I suggest increasing the speed by 120-200% to add a sense of urgency and motion. However, this should be done with the tone of your project in mind; a slower, more deliberate transition might be more suitable for a somber scene. You can also try to slow down the clips which results in a even more choppy effect.

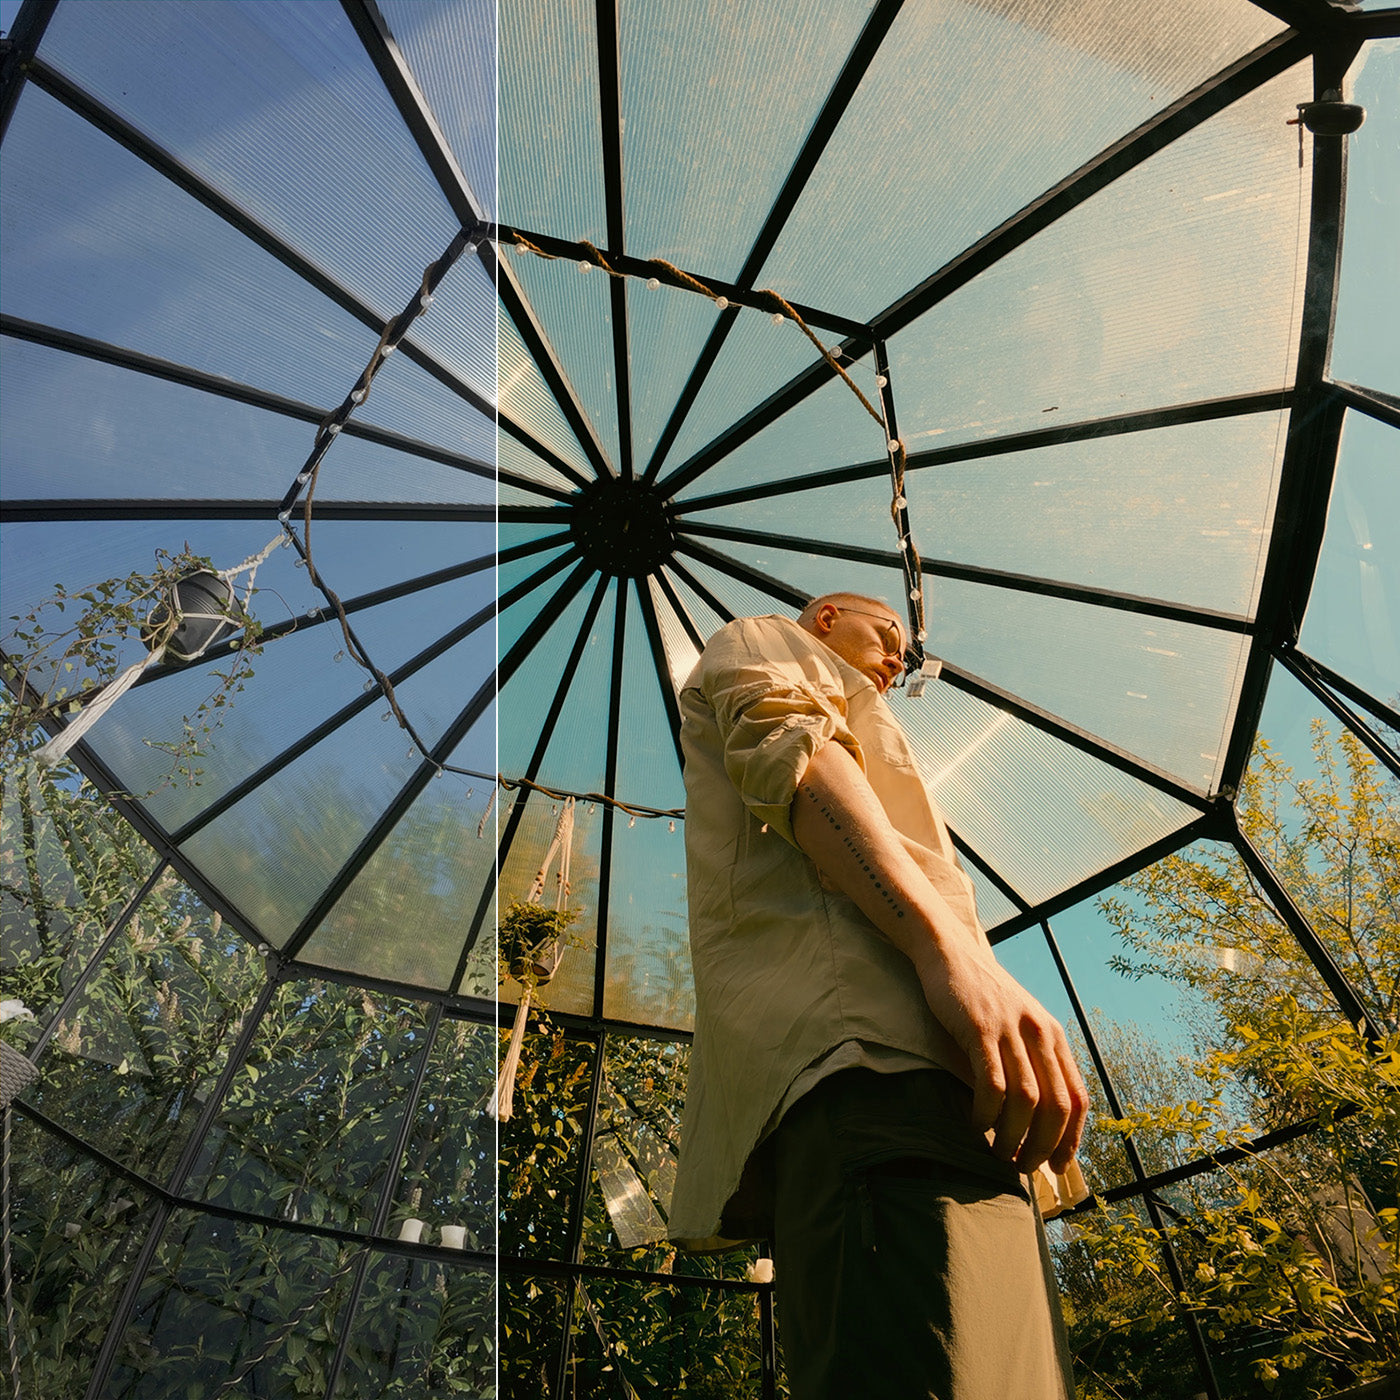
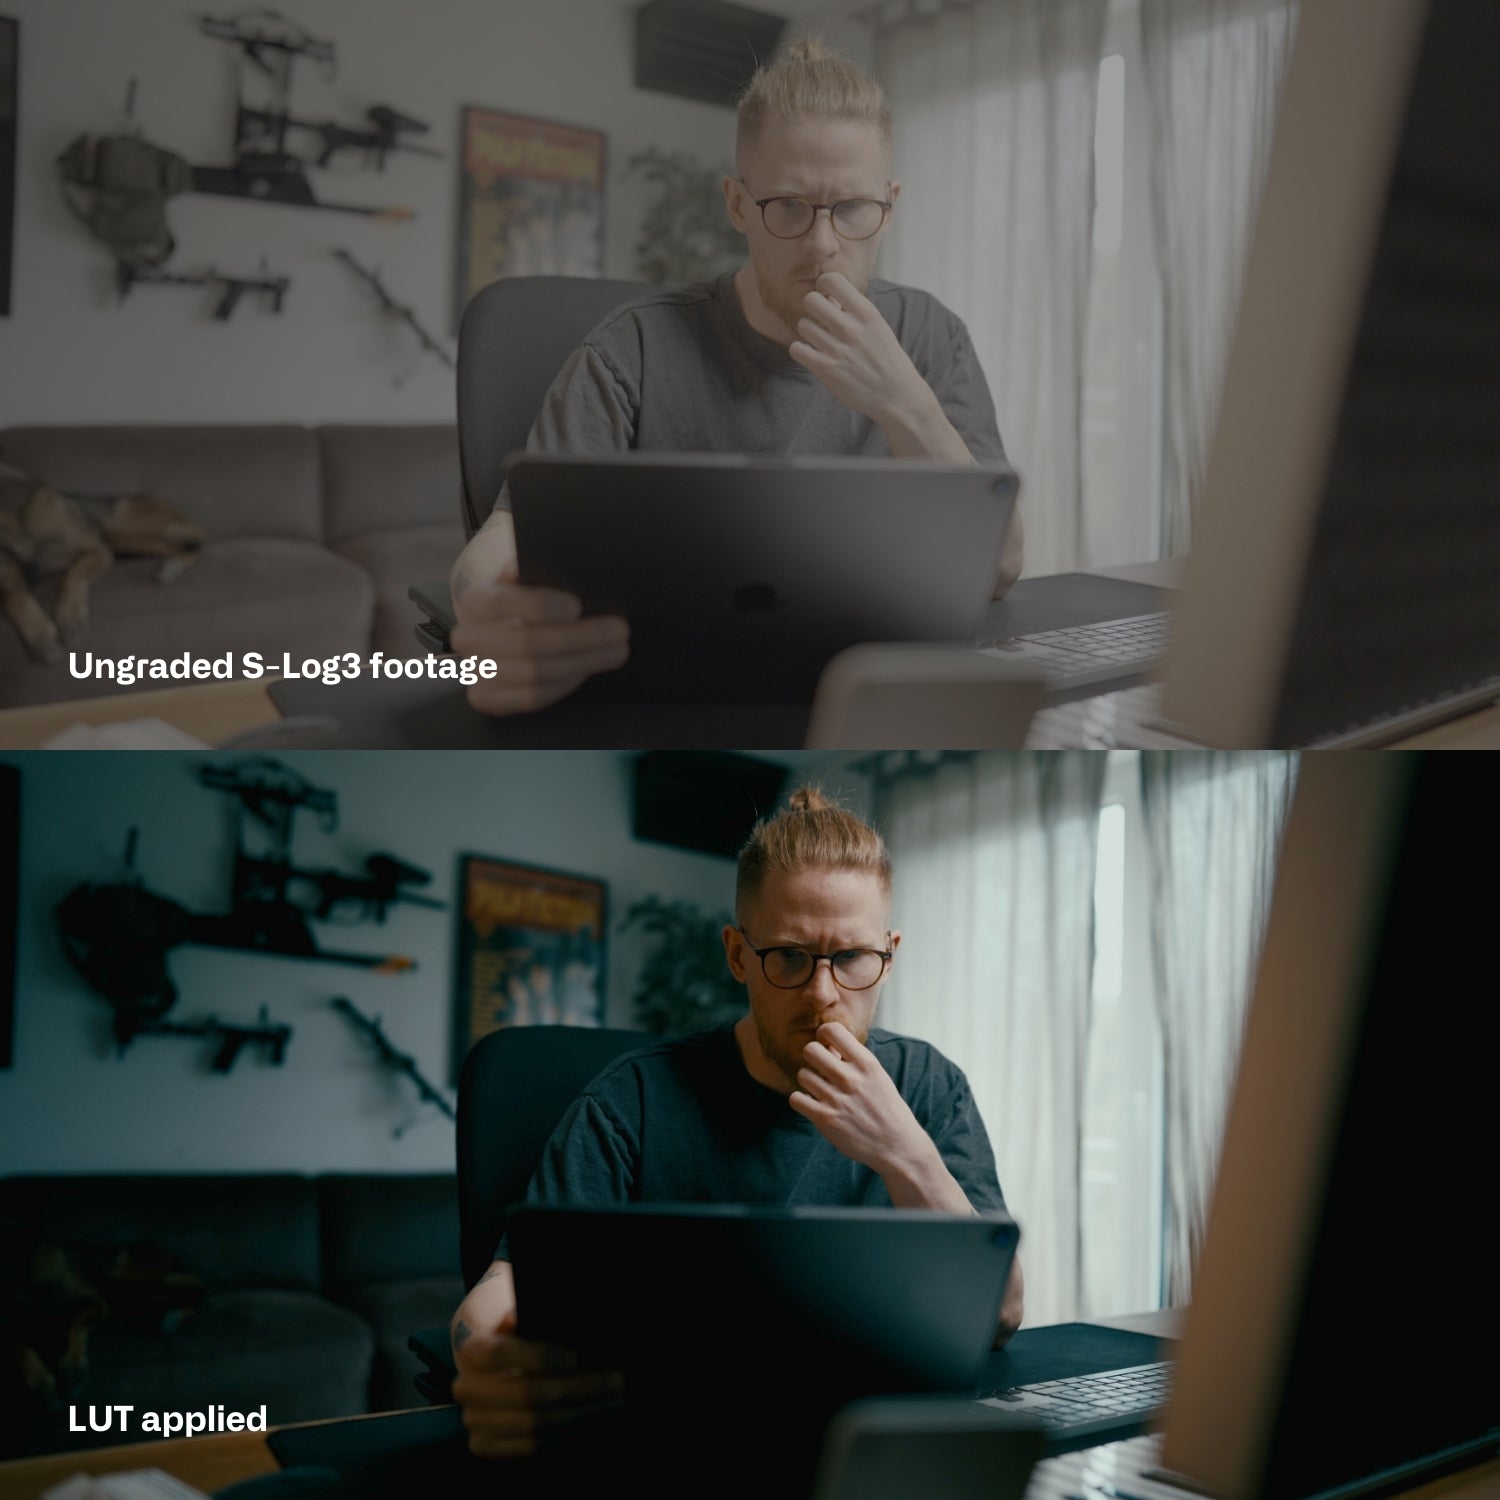
2. Color Correction
Every scene has its unique color palette, and your transitions should harmonize with the overall color scheme of your video. Use color correction tools to shift the hues of your transition. For instance, you might want to lean towards a teal or orange tint, depending on the mood you’re aiming to evoke.
Adjusting the blend modes, such as setting your transition layer to Overlay, can also enhance the effect.

3. Sound Design
While the transition pack provided includes pre-added sound effects, you can personalize the audio to better suit your project. Sound plays a crucial role in how transitions are perceived, so take the time to choose or create sound effects that complement the visual impact of your slow shutter speed transitions.
Too lazy to do it by yourself?
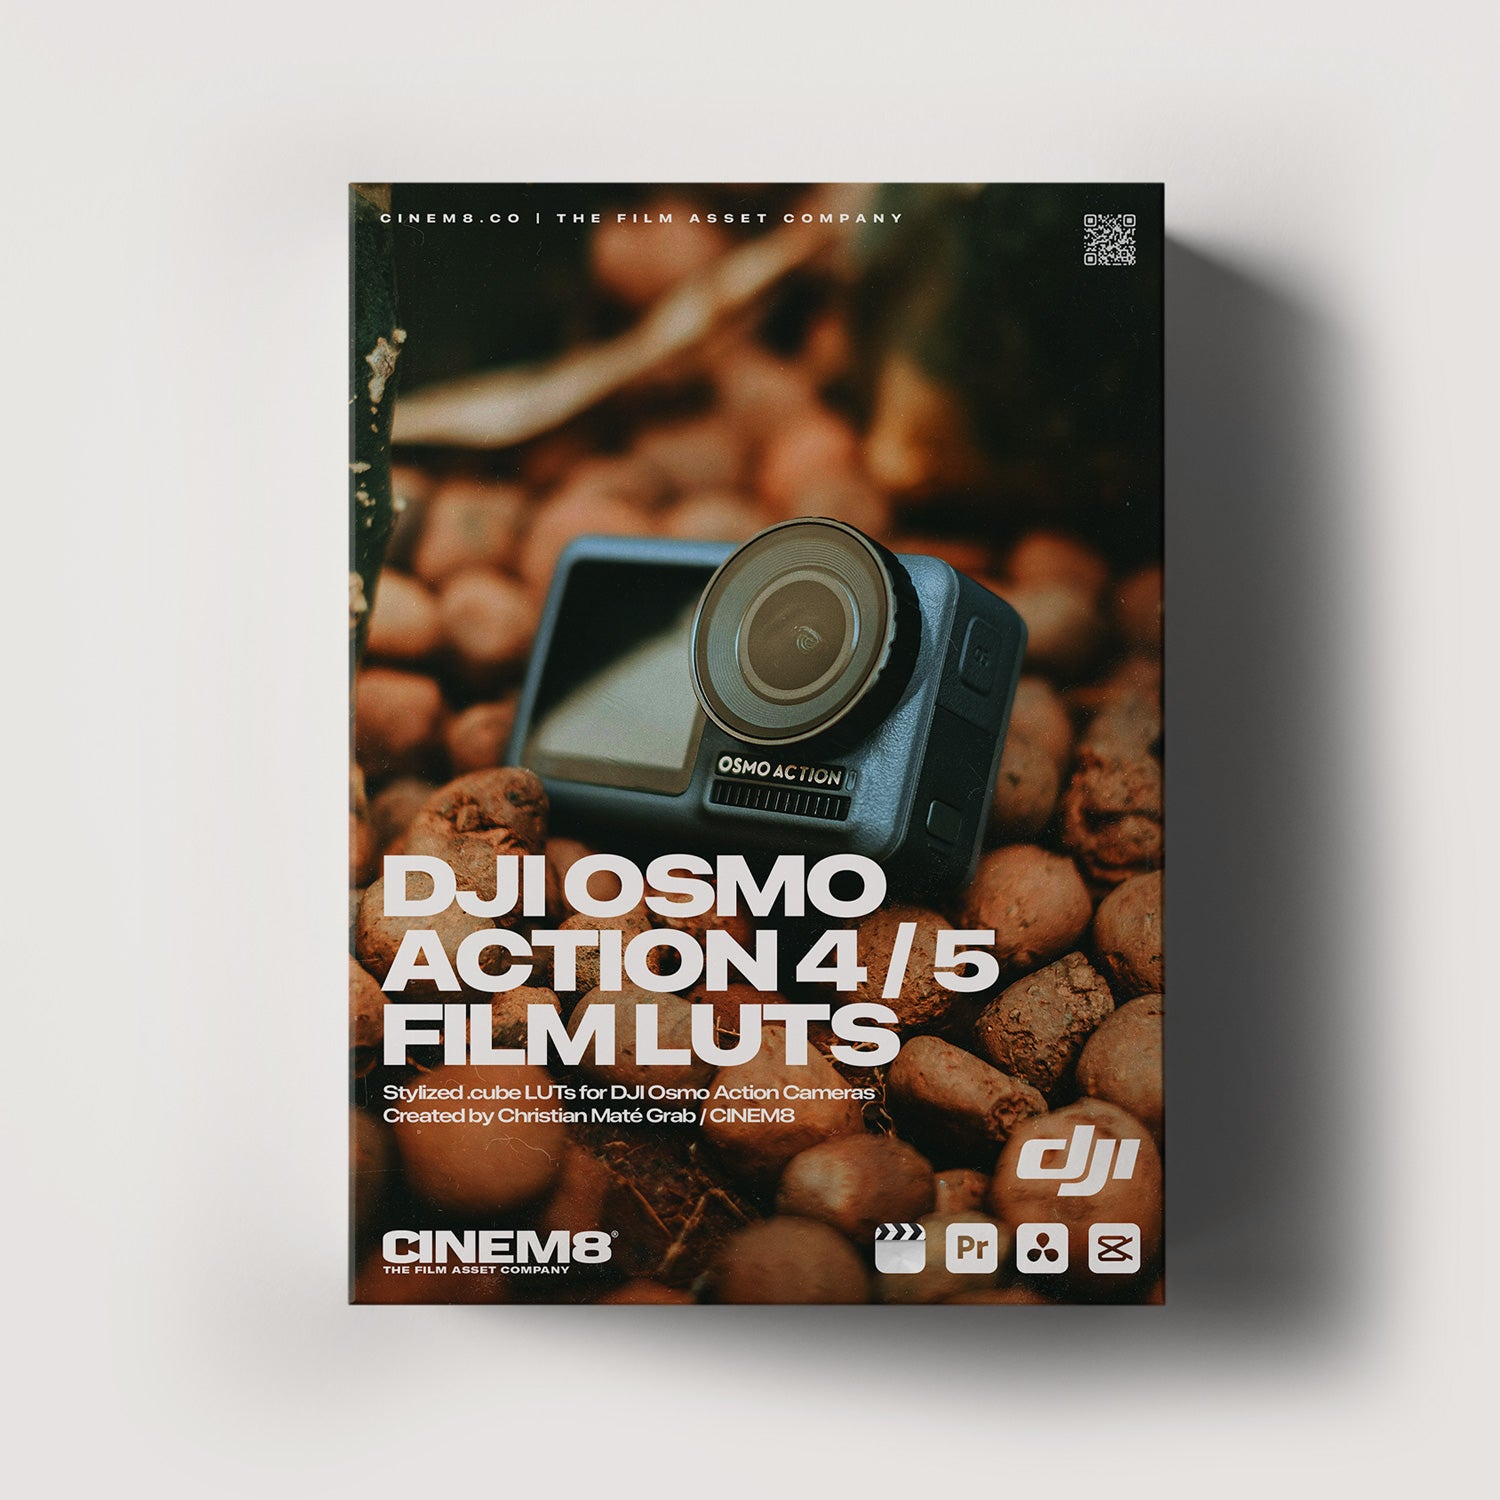
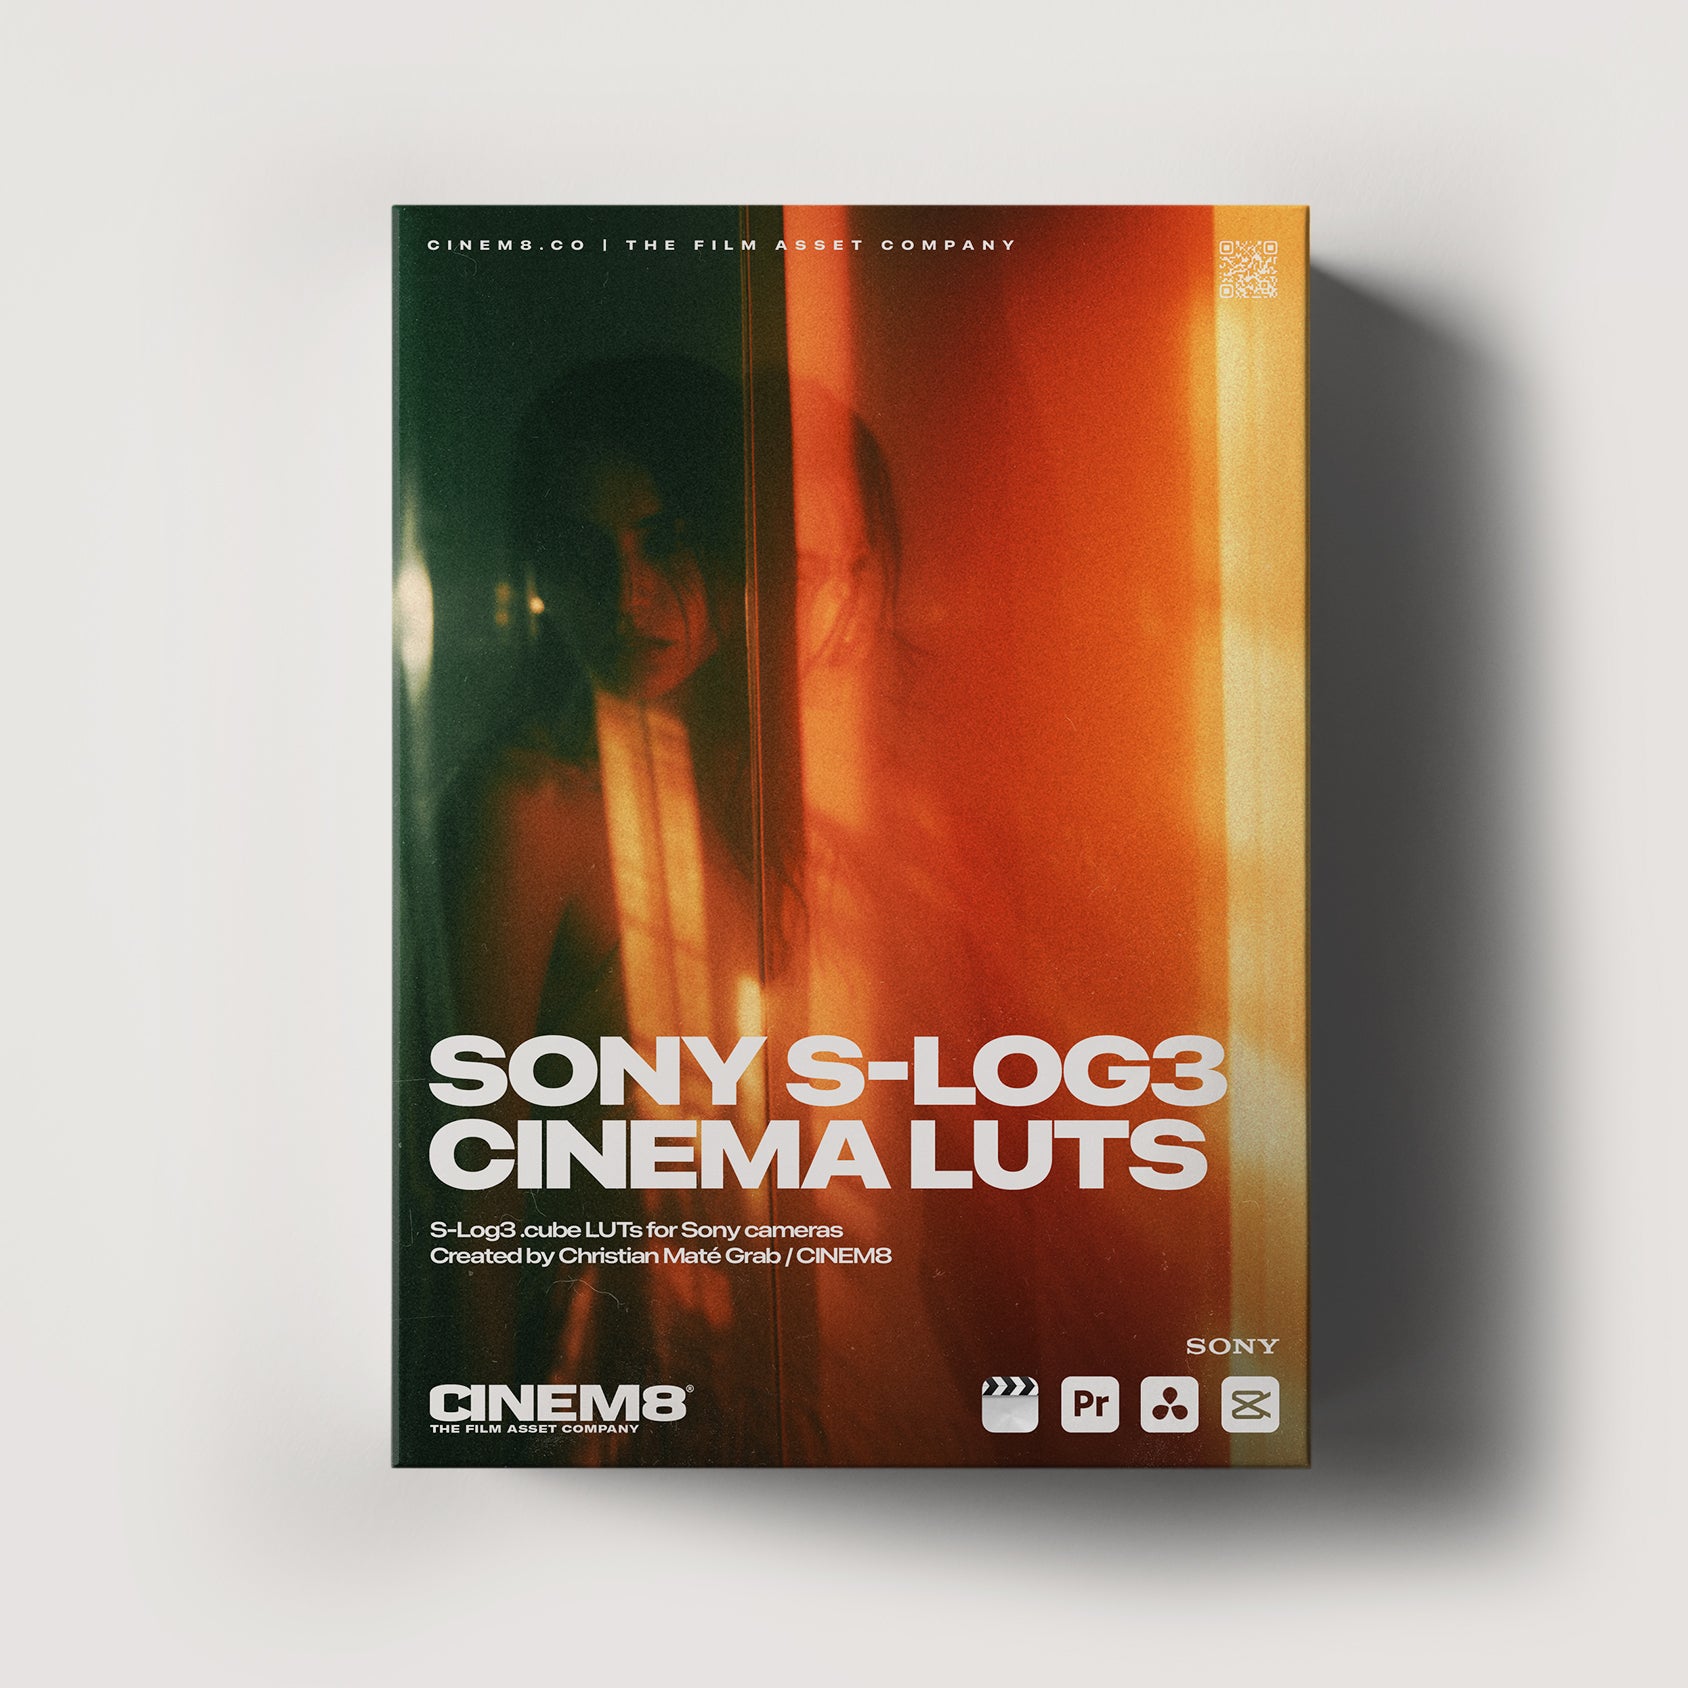
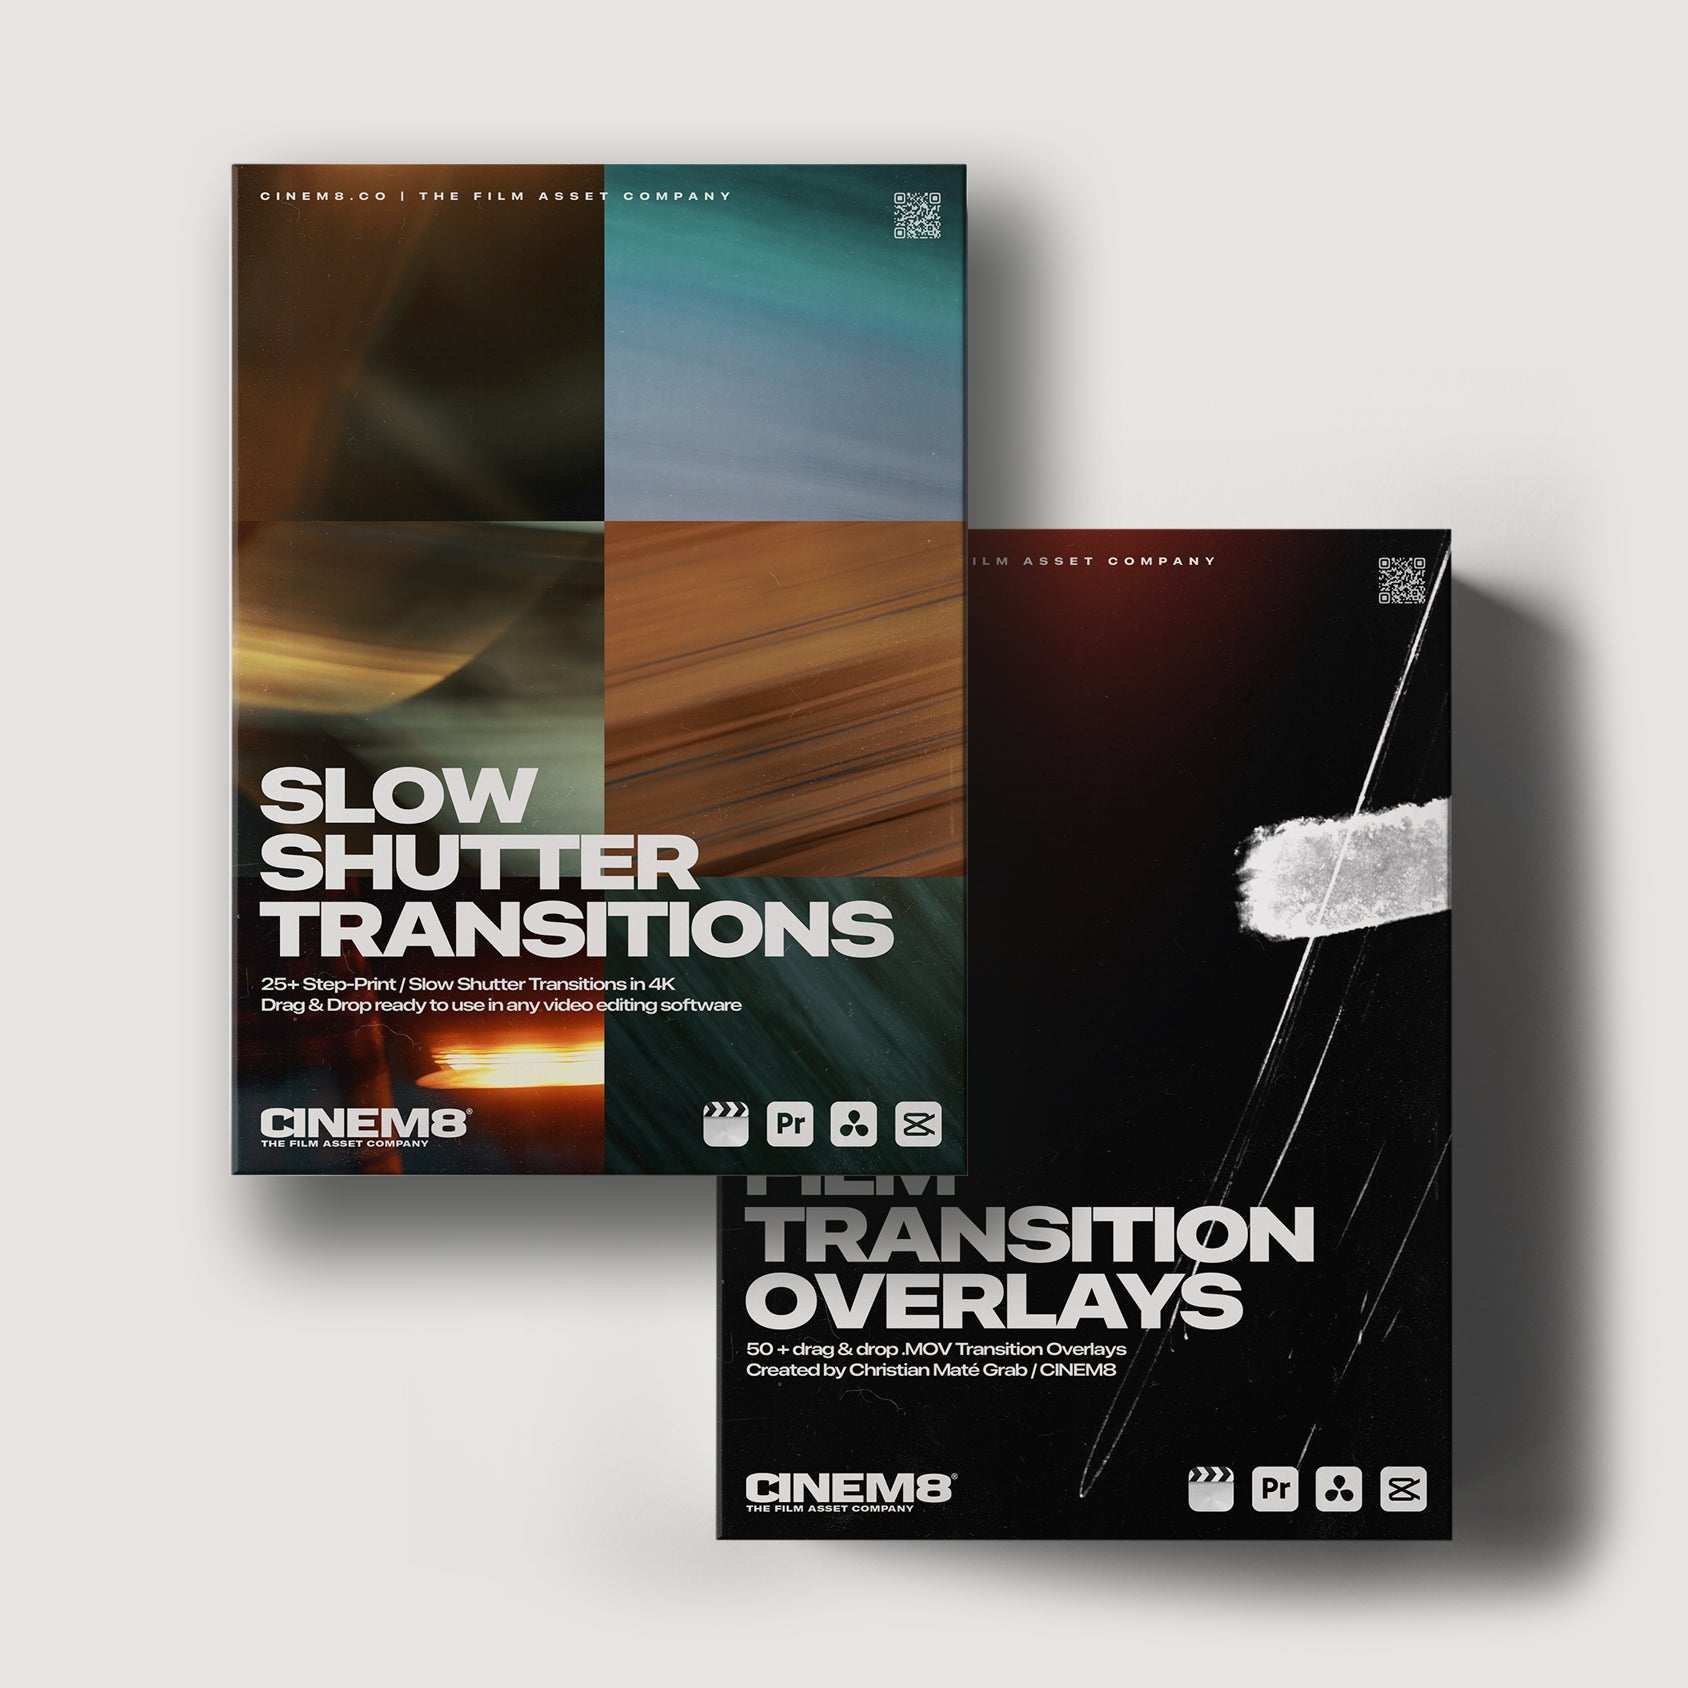
For those who might not have the time or resources to create these transitions from scratch, I offer a pack of 25+ slow shutter / step print wipe transitions available for purchase in my store CINEM8.CO. These slow shutter transitions are drag-and-drop ready and compatible with all major video editing software. They come pre-loaded with sound effects, saving you valuable time in post-production.
Final Thoughts: DIY vs. Ready-Made Solutions
Whether you choose to create your slow shutter effect transitions from scratch or purchase a ready-made pack, mastering the art of slow shutter speed transitions is a valuable skill for any videographer. These transitions can add a layer of professionalism and creativity to your work, making your videos stand out in a crowded field. Follow my advice, experiment with different techniques and don't be afraid to push the boundaries of what’s possible with step printing!

Hinterlasse einen Kommentar
Diese Website ist durch hCaptcha geschützt und es gelten die allgemeinen Geschäftsbedingungen und Datenschutzbestimmungen von hCaptcha.