
Checking skin tones in Final Cut Pro used to be a pain. Open the video scopes, find the skin tone line, crop your image down to isolate the faces. Just to check if you're even close. With EMUL8 2.0, we built something that does all of that in two clicks.
Here's how it works.
Setting Things Up
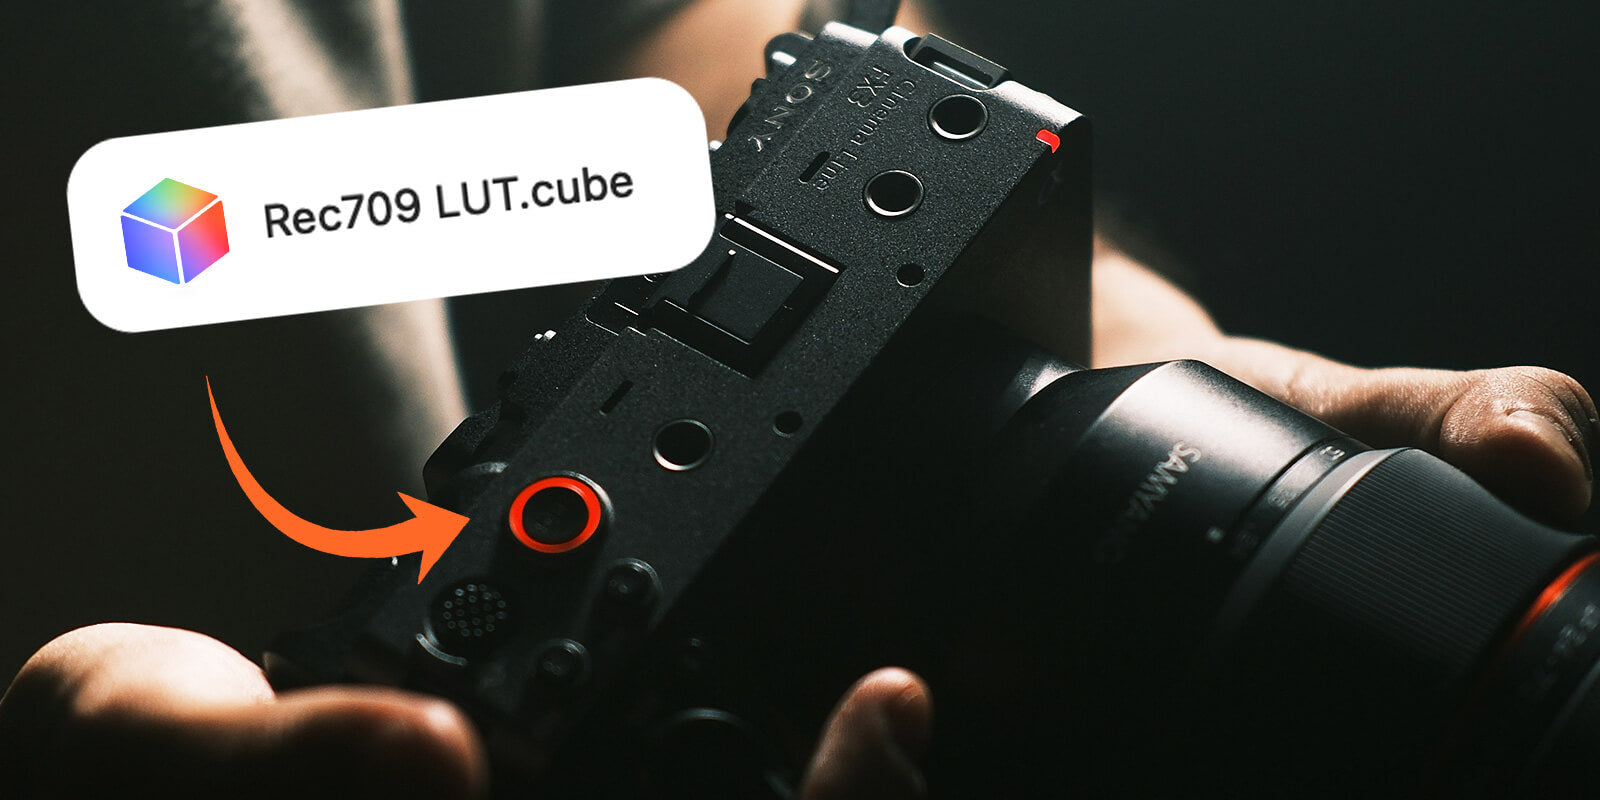
First, add an adjustment layer on top of your timeline. Then drag and drop the EMUL8 Look Development Preset onto it.
Pick your camera profile, choose a film look, and you're good to go.

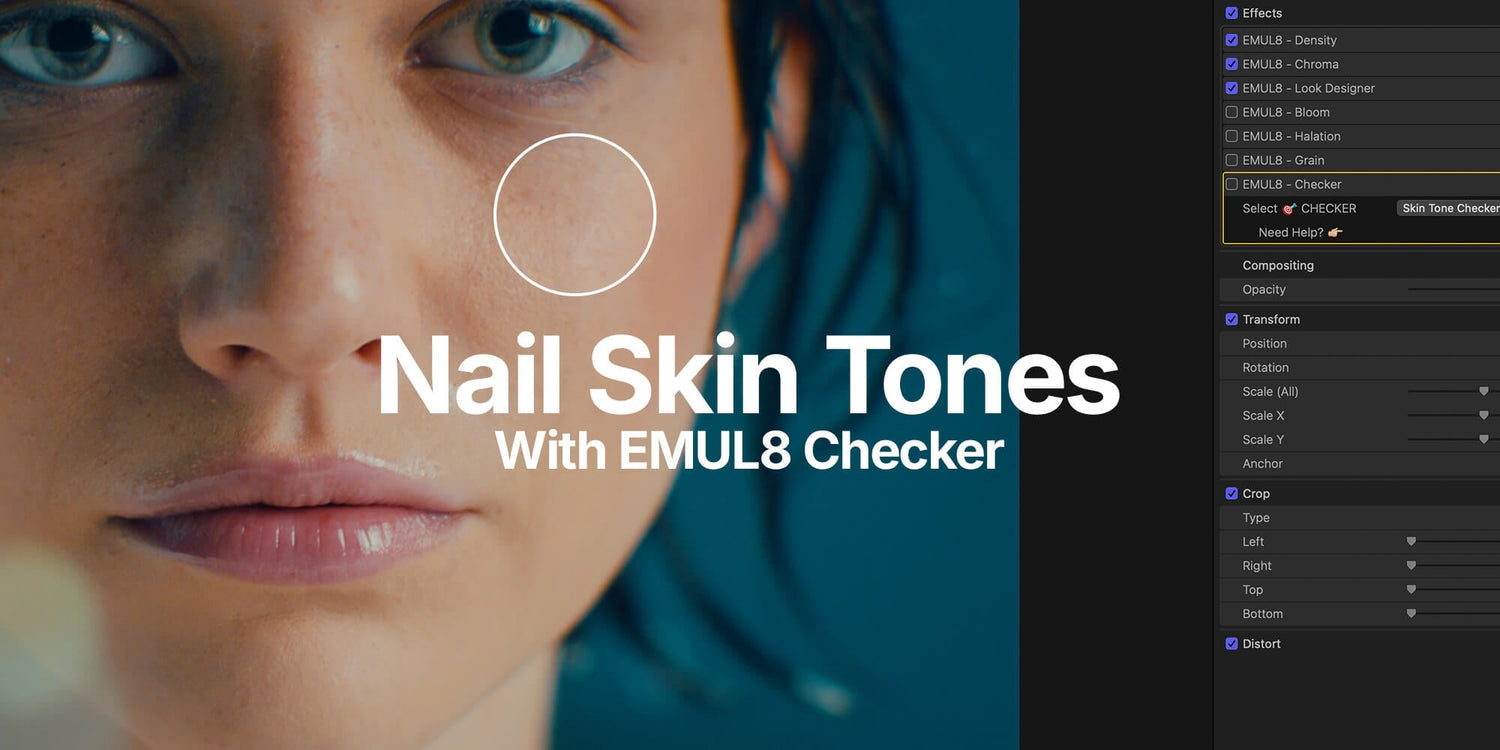
Using the Skin Tone Checker
At the bottom of EMUL8 you'll find the Check Layer. It's on by default. Just select Skin Tone Checker within the dropdown to activate it.

You'll instantly see a false color overlay on your image. Here's what to look for:
Yellow = your skin tones are on point.
If you see magenta, like in my footage, something's off and needs fixing. There are two ways to go about it.

Option 1: Fix it inside EMUL8. Head back into the Look Development module and use the Balance Sliders. You can control white balance and tint separately. Globally, in the midtones and in the shadows. Push the midtones slightly warmer, dial out any green tint and watch the overlay shift toward yellow.

Option 2: Use Final Cut Pro's native Color Wheels. Add a Color Wheels effect via the Color Inspector and place it right after the Look Development module in your effect chain. Add a Color Mask, circle the skin area, and nudge the hue in the right direction.

Both methods work great. It just depends on how much control you want. And if you're ever unsure what the colors mean, there's a tooltip built right into the Check Layer. Just hit the little checkmark icon.
Not using EMUL8 Film Emulation yet? Grab EMUL8 2.0 here and follow along.


The Neutrals Checker
The second mode is the Neutral Checker. This one is massively underrated.
It shows you whether the neutral areas in your image, whites, blacks, grey tones, are actually neutral, or if there's a hidden color cast lurking in there.
The logic is simple: cyan or blue overlay = no saturation in your neutrals.
No overlay color = saturation is present.

You'd be surprised how often there's a subtle green or blue cast hiding in the shadows that you simply don't catch until you check like this.
The easiest fix? Add a Hue/Saturation Curves effect and keep it as the last effect in your chain. That way effects like Halation, Bloom or Chroma won't introduce new color tints afterward. Head to the Luma/Sat curve and pull a slight curve so saturation drops off in the darker range (or in your highlights as well). Done.
But Here's the Thing
Perfect skin tones are a tool, not a rule.
Look at Joker. Look at Stranger Things. Your favorite Netflix show. Heavy color temperatures, stylized grades, strong ambient lighting. None of those colorists were chasing the skin tone indicator. They were chasing the mood. And that's what made those looks iconic.
Use the Check Layer when accuracy matters. But don't let it box you in. Sometimes the "wrong" skin tone is exactly the right creative call.
Just look at these shots from Euphoria. Colors everywhere. Not a single accurate skin tone 😉

Want to try the Check Layer alongside with our Film Looks and effects like Halation, Bloom, Film Grain and more yourself? EMUL8 2.0 is available now for Final Cut Pro and DaVinci Resolve. Get it here to color grade your videos in minutes, not hours.


